
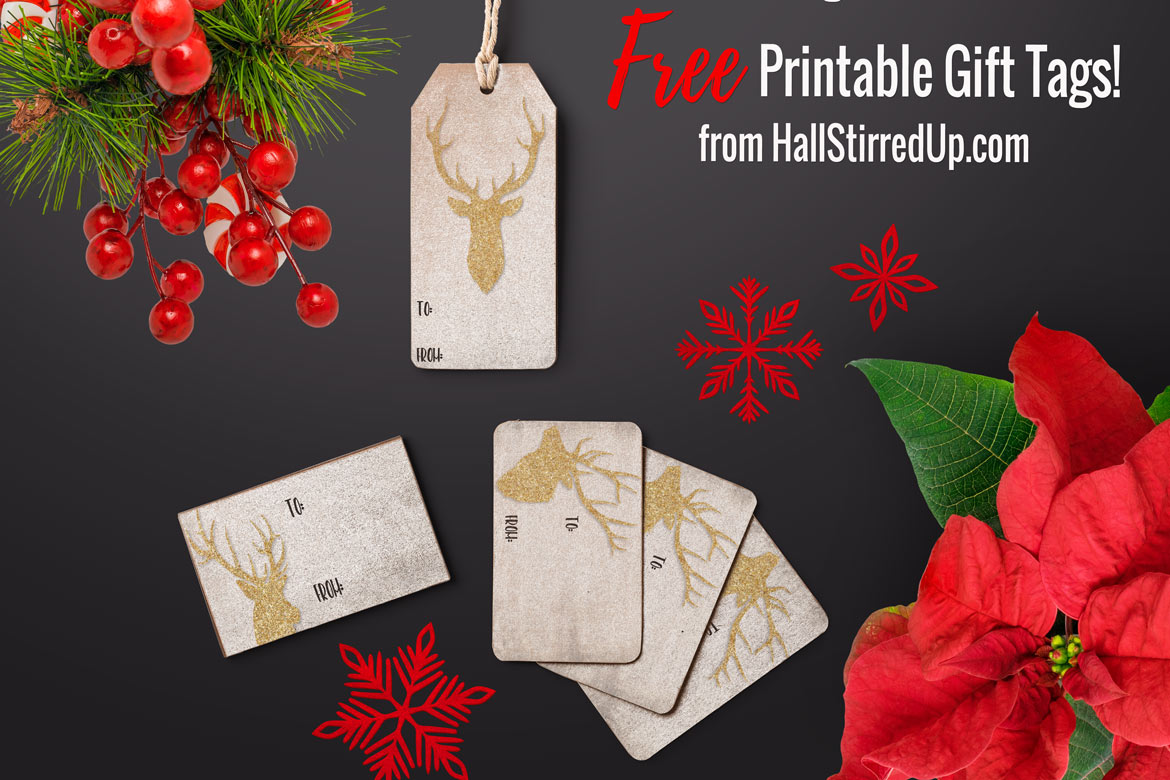
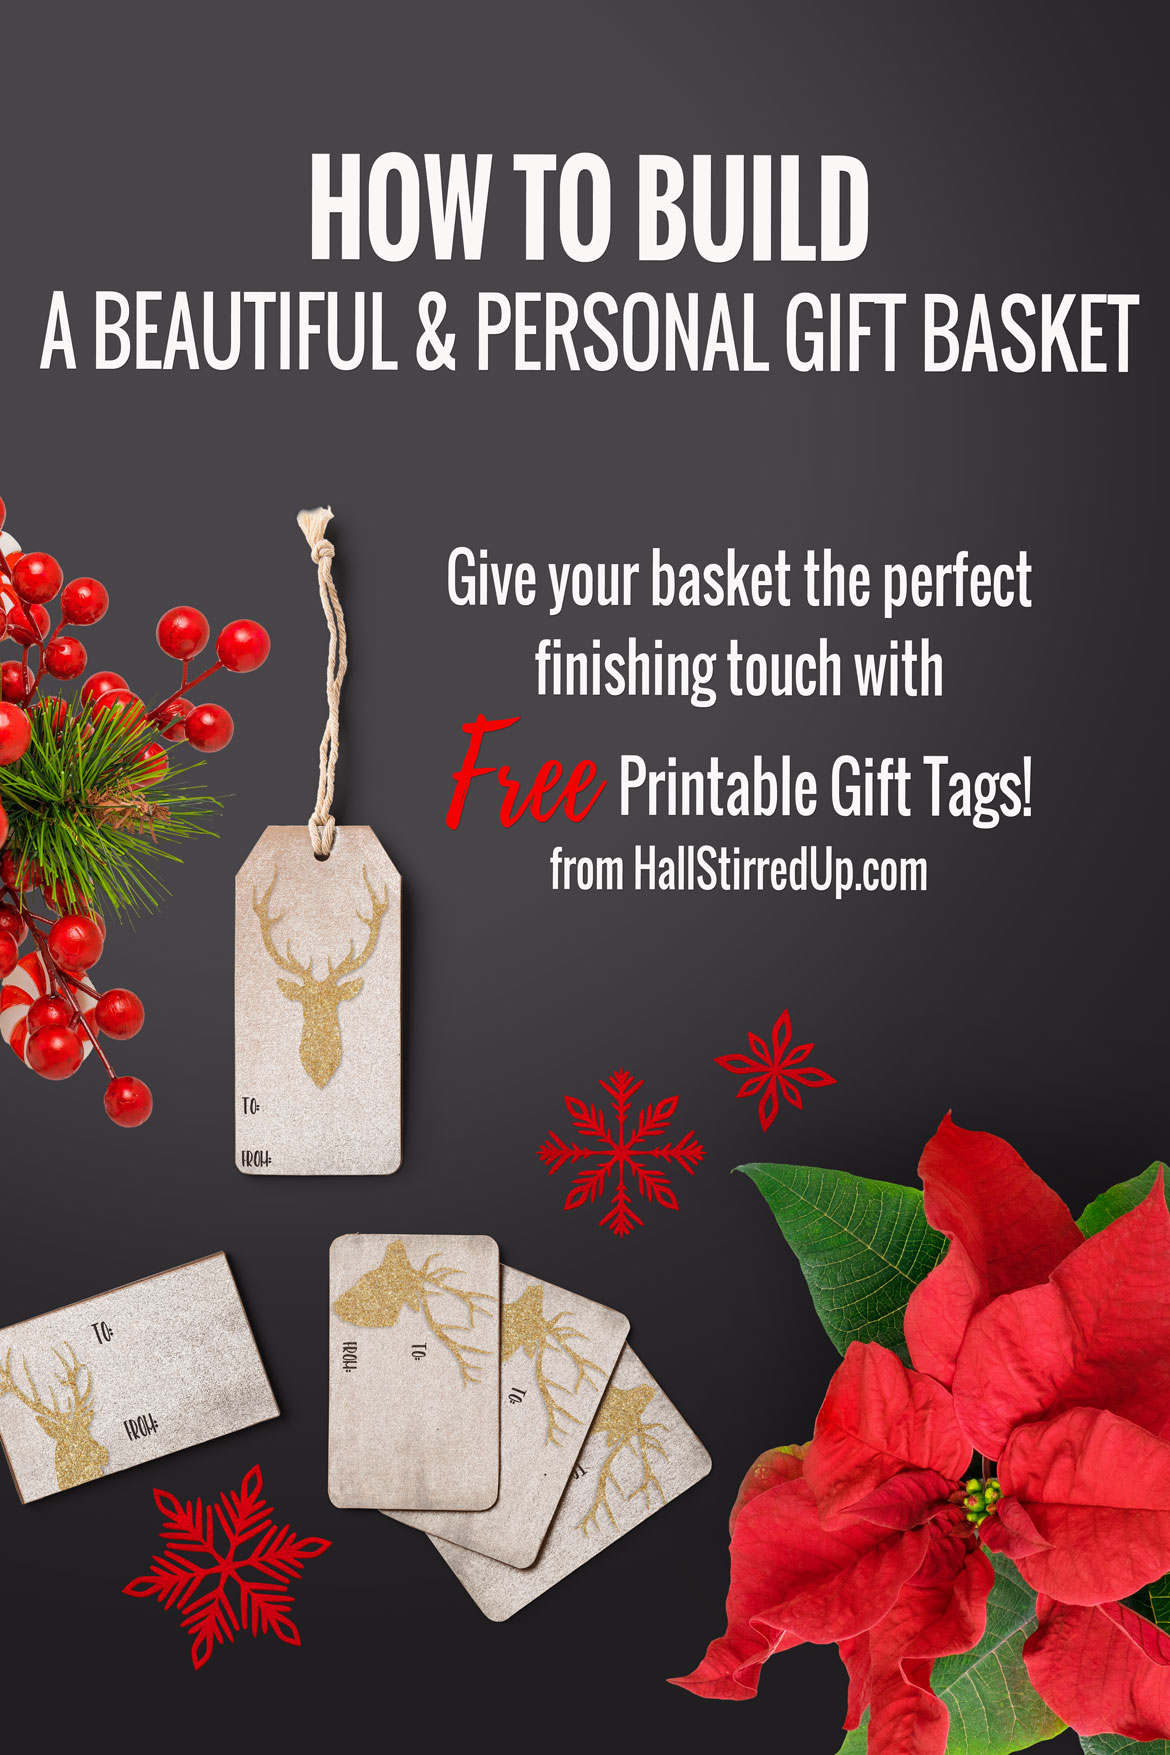
How to Create the Perfect Gift Basket – includes free printable tags
If you’re looking for ideas for that perfect gift, you might want to consider a gift basket. Gift baskets make terrific gifts for friends, family, and co-workers. You can always purchase pre-assembled gift baskets containing items like meat and cheese or wine, and while these can be beautiful and contain quality products, there’s no personalization. For a gift that’s a little more meaningful and gives you full control over what goes into the basket, make one yourself! It might seem overwhelming at first, but once you get rolling it’s actually fun and quite simple to do. And when you’re done, print out and use my free printable gift tags (link below) and you’re all set to go!
How to Make a Gift Basket
Below are simple instructions for assembling a gift basket, from choosing the container to arranging the items inside. Remember, you can choose anything you want. You can stick with a theme, or just create a basket with items you know the recipient would like.
Step 1: Choose a Theme or Type of Basket
The first step to putting together your own gift basket is to decide what type of basket it will be. Remember, you don’t have to choose a specific theme if you don’t want to. Just get a container and fill it with items that your friend or relative would enjoy. There really are no set rules for a DIY gift basket. Just get creative.
If you do want to choose a theme, here are some tips:
Think about their interests or hobbies. If your neighbor is a runner, he or she would probably be interested in items related to running or even general fitness items. You can put together a runner’s gift basket with things like an armband to hold ear buds, a new set of ear buds, and even running shoes and gear if you know his or her size. For someone who loves cars, you might create a car care gift basket with a sponge, glass cleaner, car soap, and car wax.
Decide on what their needs are. Next, consider what the person’s needs are. Instead of just getting something they want, think about what they might truly need. For instance, if you have a sister that just bought a new house, you can create a nice housewarming gift basket with kitchen tools, a small rug, and picture frames to help start the decorating process. For teenagers, think of any items they may need for school or home.
Consider the types of items they enjoy. Think of what drink this person goes for first, whether that is coffee or a glass of wine. Think about the treats they keep on their desk at work or what concerts and events they go to. All of this information can be very handy when thinking of a good theme for the gift basket.
Step 2: Select a Container
Now that you know what type of gift basket you are going to create, it’s time to select the container. While you can always use an actual basket, a better container may double as a bonus gift for that particular theme. You can use anything from a bucket to a bag and even other types of items. Generally, you want to think about what the theme you’ve decided on, and what other gift the recipient might like when choosing the container. Here are some different ideas:
Use a plastic bucket for a car care gift basket. They can use all the included car wash items and the bucket itself.
Put travel items into a small carry-on bag. The container is the carry-on bag which includes all of the different travel essentials in the gift basket.
An ice bucket or cooler makes a terrific basket for any kind of gift that includes a beverage theme.
Step 3: Purchase Gifts
Now for the fun part – choosing the gifts! You already know the theme of your basket and what container you’ll use, so you probably have a good idea of what to use inside. For a good gift basket, you want variety. You don’t need to spend a lot for enough items, but it is good to choose different types of gifts that follow the theme and are different sizes. If you’re using a basket or other open container, you want to layer the items, so having small, medium, and large items definitely helps.
Here are some different themed gift baskets and ideas for products you can include:
Gardening Gift Basket. Use a flowerpot or a gardening tote for the container, then fill it with items like vegetable and herb seed packets, handheld gardening tools, a set of gloves, and a small knee rest. Include a small watering can if it fits in the basket.
Pasta Cooking Gift Basket. Fill a tall cooking pot with a bottle of pasta sauce, box of noodles, container of parmesan cheese, tongs or other cooking utensils, and a bottle of wine. You can also choose to add wine glasses or other glassware, but that’s optional.
Date Night Gift Basket. There’s a lot of room for creativity here. You can have a date night gift basket with a small blanket, bottle of wine, 2 wine glasses, and some DVDs, or provide gift cards for a fun date night out.
Step 4: Arrange the Gifts
This can be an intimidating part of the process, but remember, there’s no right or wrong way. If you’re using a bag or anything that closes, then you really don’t need to do anything but put the items inside. Try to put the larger items on the bottom so that when it’s opened, all of the products are easily seen.
If using a basket or an open container like a cooking pot or plastic bucket, these tips will help:
Start with the tallest items first. You want to have have the taller and bigger items in backs. Try to make sure every item can be seen. It might take a few times until you get it right. Move things around as needed until everything is visible.
Line the bottom. If a towel or small blanket is part of the gift, use that to line the bottom. This keeps it out of the way, but can still be seen.
Step 5: Add Filler
You can use shredded crinkle paper, excelsior or another filler at the bottom to give some cushion and help to elevate and secure your items. All you’re doing is choosing some type of material to act as filler in your basket to help fill empty spaces and keep items remain secure. Most people will use some type of shred, whether you get packaged shredded tissue paper or shred it yourself.
Step 6: Decorate and Wrap
This is only needed when using an actual basket, though you can also add ribbon or a bow to other containers you are using. Once everything has been added and you’ve added the filler, you want to wrap the entire basket. This helps to keep all of the items in place and makes it easy to carry. A large piece of cellophane or plastic that wraps around the basket works well. Gather the plastic at the top of the basket, twist it, and secure with ribbon. Tie a bow and you’re done with your gift basket!
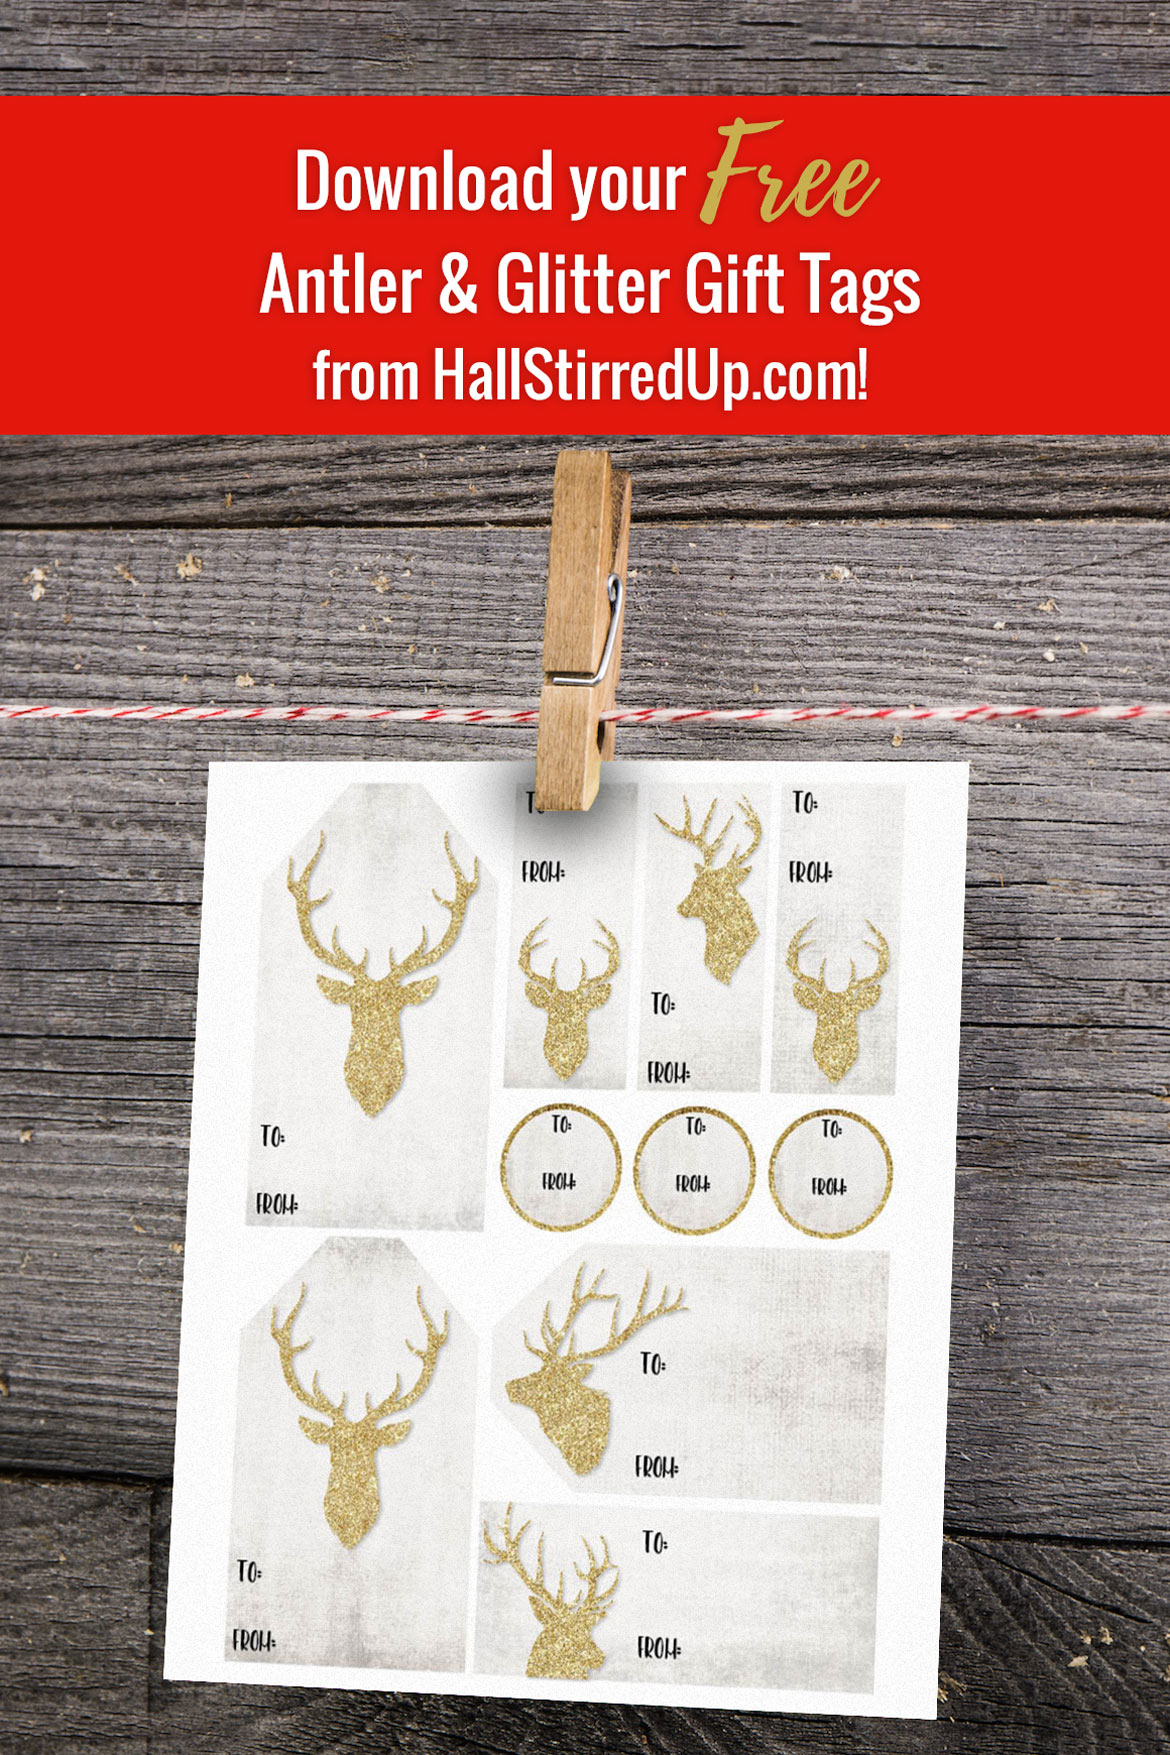
Add a tag and you’re good to go!
Now that you’ve assembled and wrapped your basket, don’t forget to add a tag. Download my free printable glitter antler gift tags by clicking the button below!
 You Might Also Like
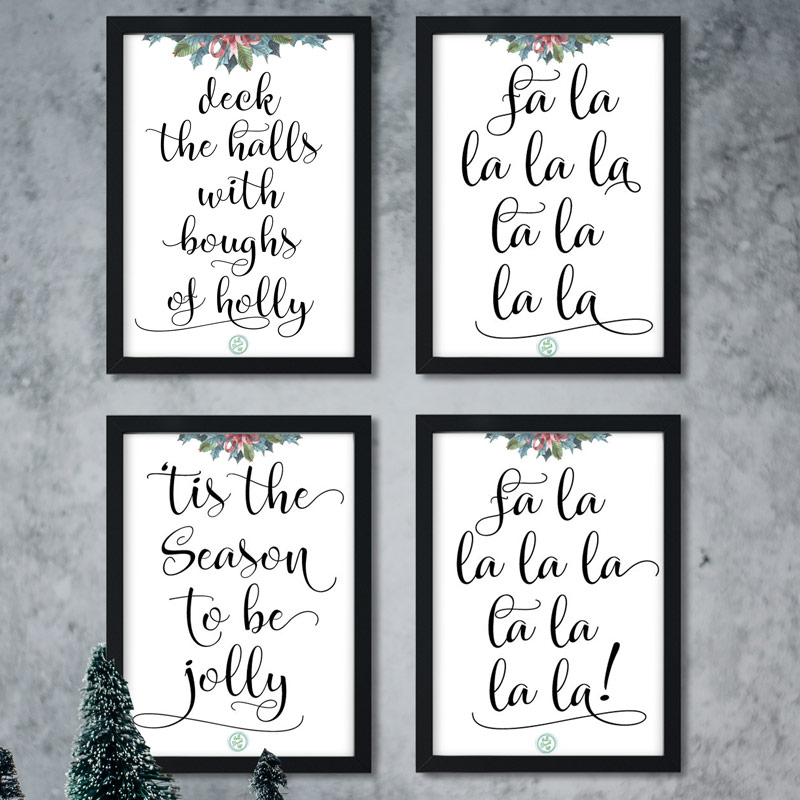
Download my fun ‘Deck the Halls’ Christmas carol printables here
Say Ho Ho Ho with a fun Holiday printable
Celebrate the Holidays with a Christmas Tree Farm printable
Check out my Etsy shop!

Leave a Reply